Shoe storage is often sold by a headline number of pairs, but that number is only a rough guide. Boots, trainers and larger footwear occupy very different amounts of space. Start with the footwear you own and the hallway or bedroom space where the unit will actually sit.
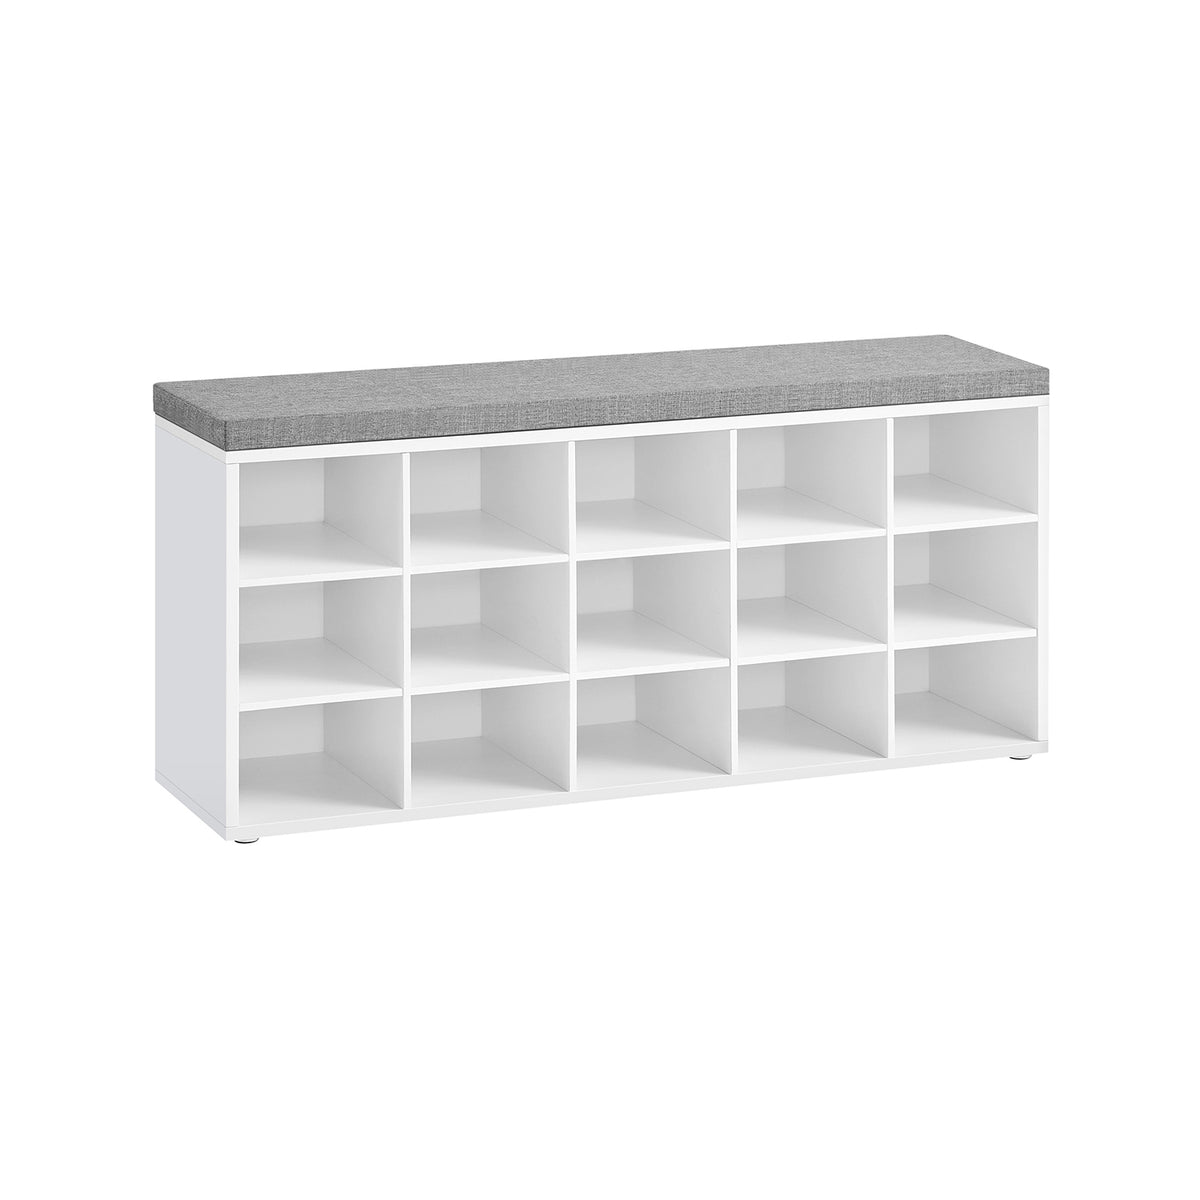
Open racks make capacity easy to see
An open rack gives quick access and natural ventilation. Measure the usable shelf width and vertical spacing, particularly for high-top trainers and ankle boots. Very shallow racks can work well in narrow hallways, but check whether larger shoes project beyond the shelf.
Closed cabinets reduce visual clutter
Flip-door and cupboard-style cabinets hide footwear, but the mechanism affects usable capacity. Check internal compartment dimensions and the clearance needed to open the door. Skirting boards can also stop a cabinet sitting flush against the wall and make its real projection greater than expected.
A shoe bench has to work as a seat too
If the unit is designed for sitting, compare its seat height with a chair or bench you already use comfortably and check the manufacturer’s stated load guidance. Do not assume every low shoe cabinet can safely be used as a seat.
Pair counts are not universal
A claimed capacity of twelve pairs may be realistic for smaller shoes and unrealistic for bulky footwear. Measure one of your largest pairs and use shelf dimensions where available. If a household stores several different shoe sizes, plan around the largest rather than the average.
Think about wet footwear and cleaning
Hallway storage regularly encounters damp soles and grit. Consider whether shelves can be wiped easily and whether the construction is appropriate for the intended location. Allow wet shoes to dry rather than packing them tightly into poorly ventilated enclosed storage.
Example: VASAGLE UKLHS15WT
The VASAGLE 15-compartment white shoe bench has model reference UKLHS15WT and links to Amazon UK ASIN B09LRYQZM8. Treat “15 compartments” as a compartment count, not a guaranteed pair capacity; check each opening and confirm the selected colour and model on the retailer page.
Browse our storage benches for seating-and-storage options, and use the buying-guide library for more measuring and room-planning advice.
Make a footwear inventory before comparing capacity
Separate the footwear used every day from occasional shoes, tall boots and items waiting to dry. Count the pairs that genuinely need to live in this location. Filling every compartment with rarely used shoes can leave the everyday pairs on the floor even when the cabinet looks large enough.
- Longest pair: measure the shoes in the orientation you plan to store them, including heels or projecting soles.
- Tallest footwear: check the clear opening above the shelf and whether any removable divider is actually designed to be removed.
- Bulkiest pair: place both shoes together rather than estimating from a single shoe. Check whether each compartment is intended to hold a pair or individual shoes.
- Access: test reaching the shelf, removing the footwear and sitting down where relevant. Opening a door is not the same as having room to use the storage.
Overall cabinet depth is not internal shelf depth. Back panels, tilt mechanisms and handles can take space, while shoes sticking out can increase the occupied floor area. Ask for the missing internal measurement if your footwear is a close fit; do not turn an unknown measurement into an assumed capacity.
Check the whole entrance layout
Before choosing between a shoe cabinet, bench and console, use our narrow-hallway furniture planner. It compares the furniture footprint with doors, seating and the route through the room, and helps decide which storage job to prioritise.